
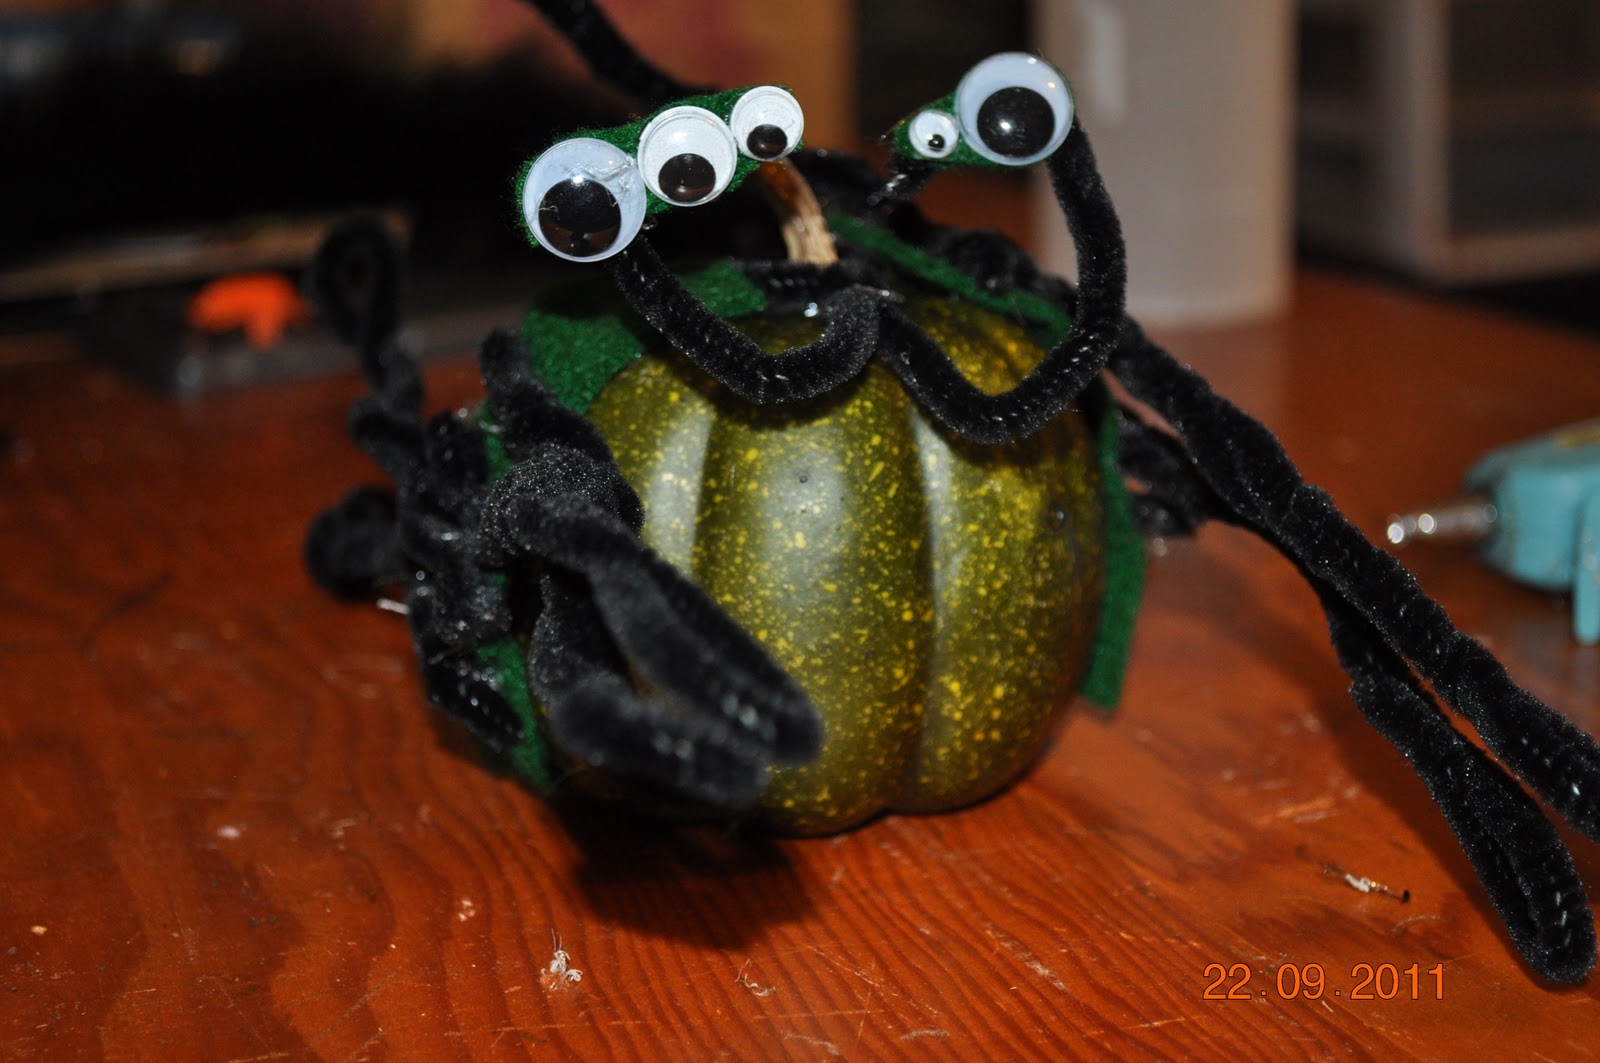
Fuzzy Pumpkin Spiders!!
Each year I try to have my kiddos create a decoration for
the upcoming season! Not only is it fun to create with them
but it is fun to look back and see what they made in
the years past as you get the decorations out for the season!
Since Halloween is fast approaching I thought it would be fun to make some spooky spiders to sit or hang around the house.
So I found some treasure in the craft room that we could use this year to create our:
FUZZY PUMPKIN SPIDERS!!
I saw something similar to this for sale at Michaels craft store, but thought it would be more fun to make them!
I saw something similar to this for sale at Michaels craft store, but thought it would be more fun to make them!
The older two had so much fun making them, Kate was too
little so I had to help her! (really she just played with the
pipe cleaners, but hey! She was happy!) So here is a guide
for you and your little ones to follow in creating your
own!
This requires a low-temp glue gun so please supervise.
Best for ages 5 and up!
Here is what you will need:

-googley eyes *Sorry I didn't get these in the picture** however many
your little one wants his/her spider to have
-part of a feather boa (depends on your pumpkin size, will need enough to wrap around it
and cover the pumpkin. I divided mine into 3 pieces as we had little pumpkins.
-9 black pipe cleaners
-low-temp glue gun and extra glue sticks
-fake pumpkin (mine are the small ones)
- pieces of felt in a dark color : 2pieces that will go from stem to bottom edge of pumpkin
1 piece about an inch square
2 pieces big enough to fit your spiders eyes on. I cut mine alittle big to make it easier
to get the eyes glued to them. you will trim it off later!
(black, green, blue, whatever you have that won't
show up to much through the boa)
-scissors * sorry not pictured either**
Okay! Here is what you do to create your spider!
Step 1:

until you reach the ends. Creating one leg! Do to other 7 to create your fuzzy legs!


Step 2!
Using one of the felt pieces that will go from the
stem to the bottom of the pumpkin, begin to hot glue
 on the legs. Run a nice thick line of hotglue across the felt shortways and attach the end of a leg. Press the leg firmly into the glue and hold for a second (be careful not to glue your finger to the felt! ha!) Continue to glue four legs to each piece. We alternated directions so that spider had some legs going forward, and some going back.
 You should have something like this when they are all glued on!
STEP 3!


Once eyes are on carefully trim off the extra felt as close as you can!
Step 4!


Step 5!


Step 6!


Beautiful! hee-hee!
Step 7!

Then stick one end of your boa into the glue and carefully hold down. Remember you are gluing feathers so it will come through to your fingers.


on the boa and glue it to the bottom of one
of the felts that has legs on it!
Step 8!

Last step! Slowly add glue and stick the boa to it, wrapping around as you go. We put glue on the felt of the legs, then inbetween the felt, and so on. Wrap your boa between the legs as you go. When you reach the top use a good dab of glue to get the very end to stick down by the stem! You don't have to keep the boa wraps very close together since the fuzzyness of it will fill in the empty spots!
ANd Their you go! Your very own Fuzzy Pumpkin Spider!!

Have fun! And keep on Crafting!
No comments:
Post a Comment